Send an e-invoice step-by-step to the province of North Brabant
In order to send an invoice, your own organization must be activated at eConnect. How to activate your organization is described inCreating environment at eConnect.
From the eConnect platform you canInvoices sentGo to North Brabant Province.
Choose theApp Sales invoiceAnd then forNew invoice(or possibly, if an invoice has been sent before, forConcept of invoicesto use it as a template).
Use inSupplierOne of the activated organizations in your area. Activating an organization is described inCreating environment at eConnect.
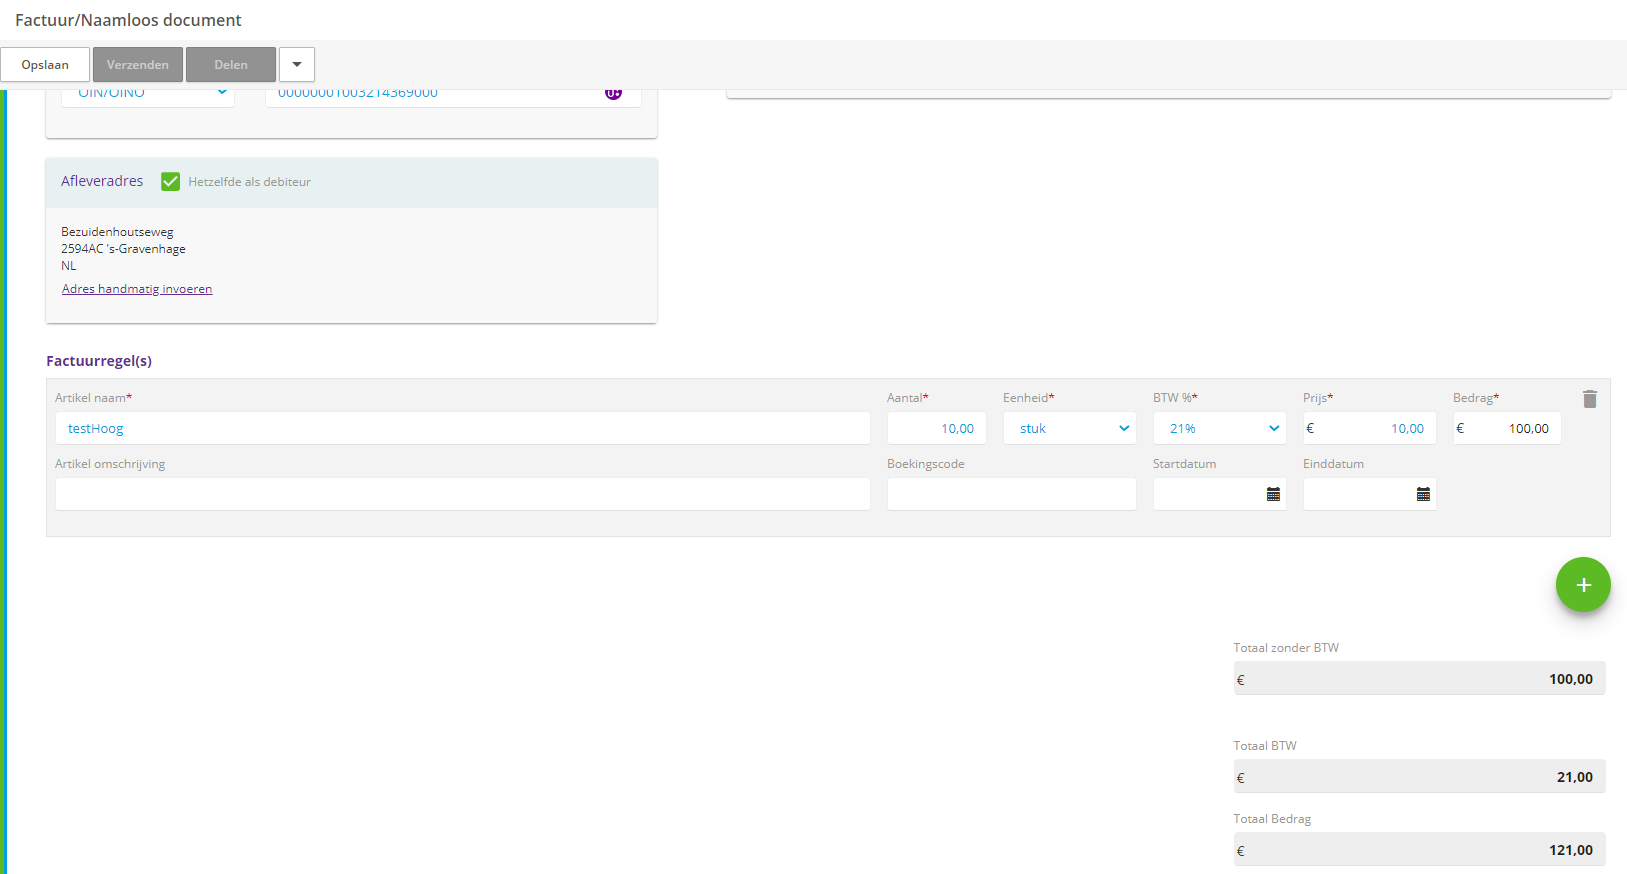
It is important to governments such as the province of North Brabant thatOrganizational IDandSend throughthrough theOin/oinohappens.
Where the data is filled in is important, because this will be found in the XML file (the e-invoice) and is read by the software system. Pay attention to which field you fill with what value
- The invoice date is the date on which you send the invoice.
- The delivery date is the date on which an item or service will be delivered (not mandatory to fill in)
- The start and end date concerns any project or time frame for which the invoice is sent (not mandatory, butIf you enter the start date, the end date is mandatory and vice versa)
- The type of invoice is a regular invoice by default, for a Credit / Correct invoice this can be adjusted.
Then you enter the payment details. In the Payment Details, your account number will be entered at the place of "IBAN bank account". The payment feature is what the customer must mention when paying, it is now automatically filled with the Customer's OrganizationID and the invoice number.
Now you can fill in the invoice rules. If the VAT rate needs to be changed, click on the box with21%. If necessary, you can add additional rules with the green plus button on the right.
All fields marked with a red asterisk are required. Before you send the invoice, check that all those fields contain a valid value.You can save the invoice-in-process as often as you want; so it doesn't hurt to press that button occasionally in between.
When you are finished in this screen you can scroll up and click onAnnexesHere you have the option to upload a file by clicking on theGreen button with the paper clip.
Related Articles
Send an e-invoice to the Dutch Government step by step
After your own organization has been added and activated, you can send an e-invoice. This article describes step by step how you can send an e-invoice to the Dutch Government. In this example, we send the e-invoice to the Ministry of Economic Affairs ...Manually drafting & sending e-invoices
Manually drafting & sending e-invoices Via the eConnect platform you can create and send a (credit/correction) e-invoice free of charge via our e-invoicing tool. Below we explain how this works. To invoice the Dutch government, follow this ...Send e-invoices to the government via the platform
In order to send an invoice, your organization must be activated at eConnect. How to activate your organization is described inCreating environment at eConnect. From the eConnect platform you canInvoices sentBecome to theDutchGovernment(For Belgian ...Download XML invoice
It is possible that an invoice is rejected from the receiving party. Or that your own accounts do not process the e-invoice correctly. To check whether the cause is in the XML (e-invoice), it can be downloaded. If you have any questions about the ...Sending invoice to Belgium via the platform
To send an invoice, you must have activated your organization at eConnect. Activating a company is described inCreating environment at eConnect. ForSending invoices from a Belgian entityMore information can be found on our general website. Sending ...